Some times the car seat comes with a head support that can help with these problems. But most of the time parents try to use after market products, like head supports that don't come with the seat, to fix these problems. This can be dangerous since these head supports are not tested with the car seat and most of the time it doesn't fix the problem. A head support that did not come with your car seat can sometimes even increase the chances that your baby will have chin to chest. Im hoping I can go over a few tips and tricks here to help fix these problems.
First of all when shopping for an infant car seat keep mindful on the lowest weight limit. If you are expecting twins or a low weight baby you may want to opt for a infant car seat that has a 4lb minimum weight limit. Most infant car seat have a 5lb weight limit and will fit the average newborn just fine. Also infant car seats with low bottom slots are more likely to fit newborns. Something with bottom slots around 5-7 inches will fit a newborn best.
I also recommend buying a car seat with the ability to adjust the tightness of the harness in the front and not the back. Front adjust seats are much easier to adjust the tightness of the harness than rear adjust.
 |
| Font Adjust: you pull the tail hanging from the front of the car seat to tighten the harness |
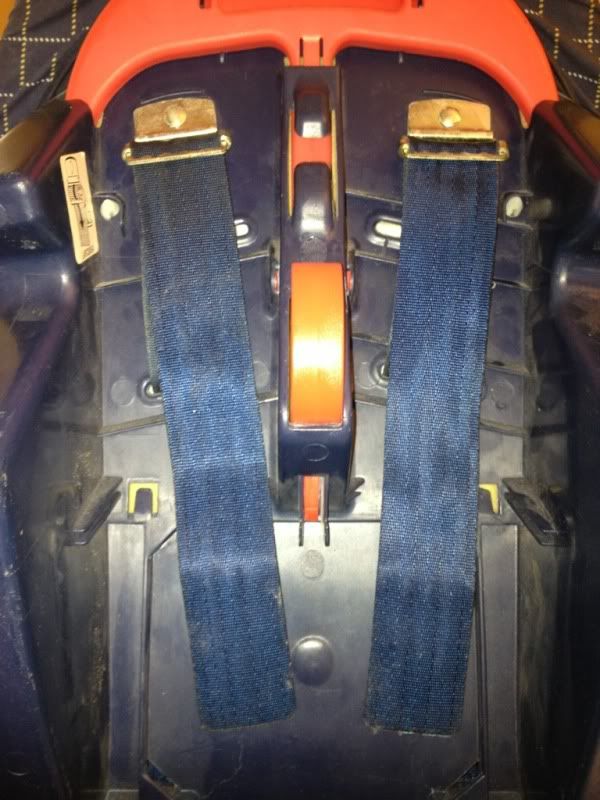 |
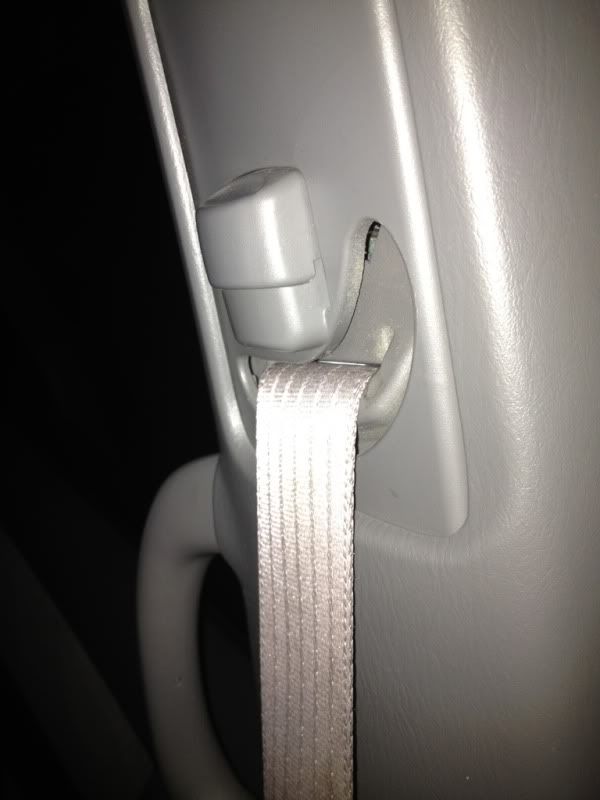
| Rear Adjust: you pull each individual tail behind the car seat to adjust the tightness of each side of the car seat's harness. This can be difficult. |
- Graco SnugRide 30, 32, and 35
30 weight limit 4-30 lbs; lowest bottom slots 6.5 in
32 weight limit 5-32 lb; lowest bottom slots 7 in
35 weight limit 5-35 lb; lowest bottom slots 6.5-7.5 in - Chicco Keyfit 30 weight limit 4-30 lbs; lowest bottom slots 7 in
- Britax Chaperone weight limit 4-30 lbs; lowest bottom slots 6.5 in without insert, 5.25 in. with low birth weight insert
One of the most common complaints of parents with young babies is that their head flops forward to their chest. This can be dangerous. Baby's have small air ways and weak necks. When their chin touches their chest it can effect their breathing. So it is important that the baby's chin does not touch its chest. This can be fixed by making sure that the baby's car seat is properly reclined.

Most babies are going to need the car seat to be reclined at a 45 degree angle. You may not recline their car seat any more than 45 degrees and you should always follow the level indicators on the car seat. If your child's car seat doesn't have a level indicator, just a level line, you may use a level app on a smart phone to determine the recline angle.
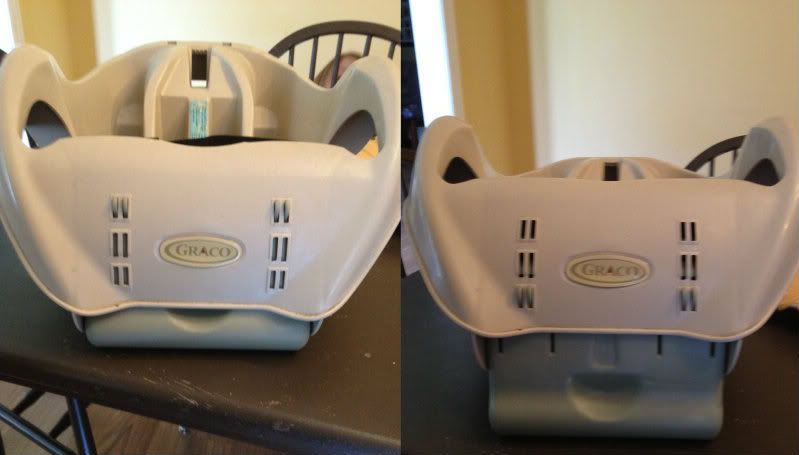
Some car seats have a foot that is able to adjust to increase the recline in the car. Try installing the seat with the foot in all the different levels of recline until you get as close to a 45 degree recline without going over 45 degrees.
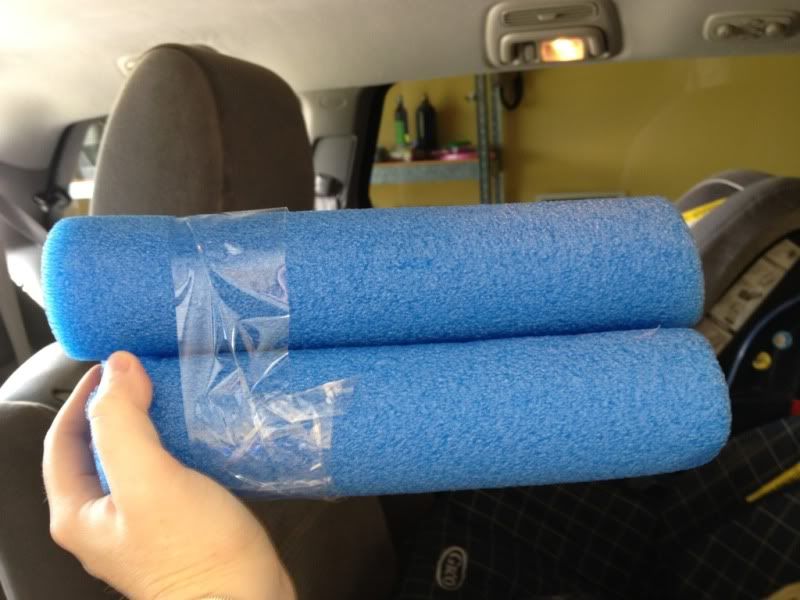
But sometimes the most reclined position isn't enough to achieve the angle you want. You'll need to use either a tightly rolled towel or a pool noodle. For this demonstration Ill be using pool noodles. You can get these at Walmart during the spring/summer months for less than $2 a noodle. During fall/winter check with some of the pool supply stores to see if they have any.
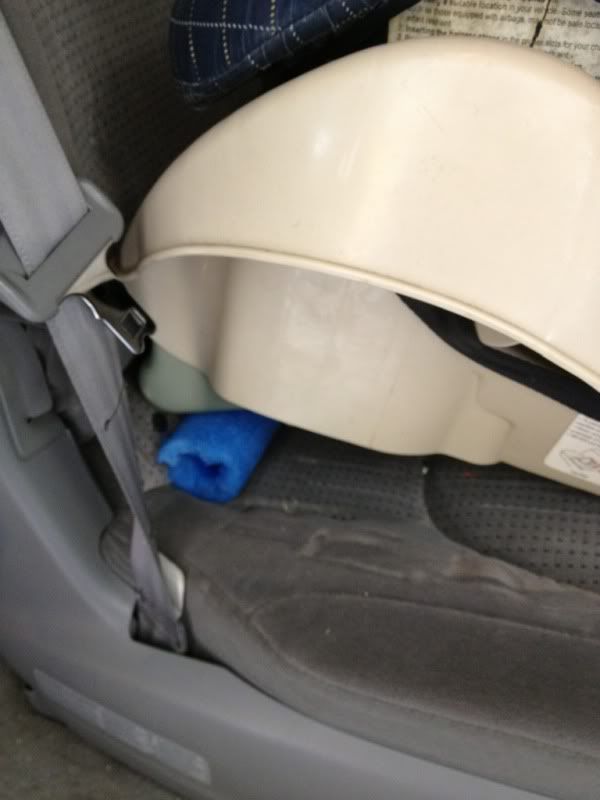
- First cut the pool noodle to be the same length as the base of your car seat.
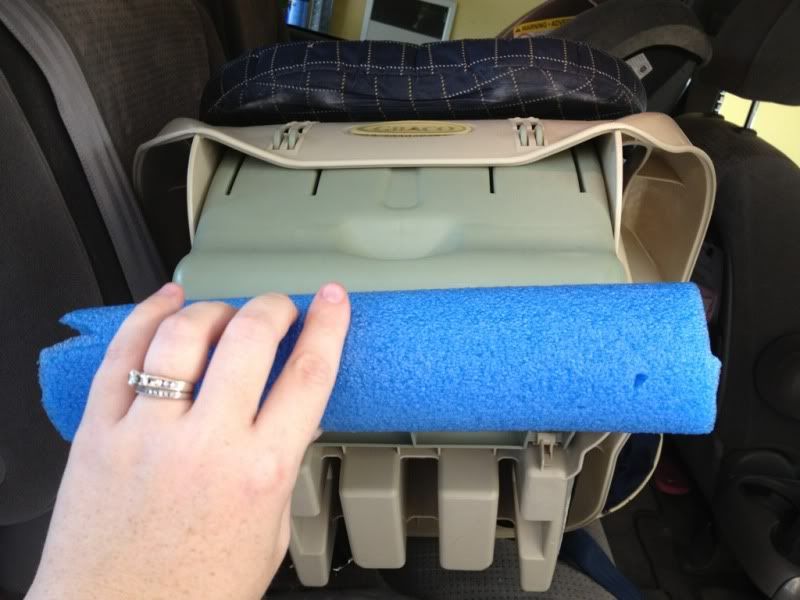
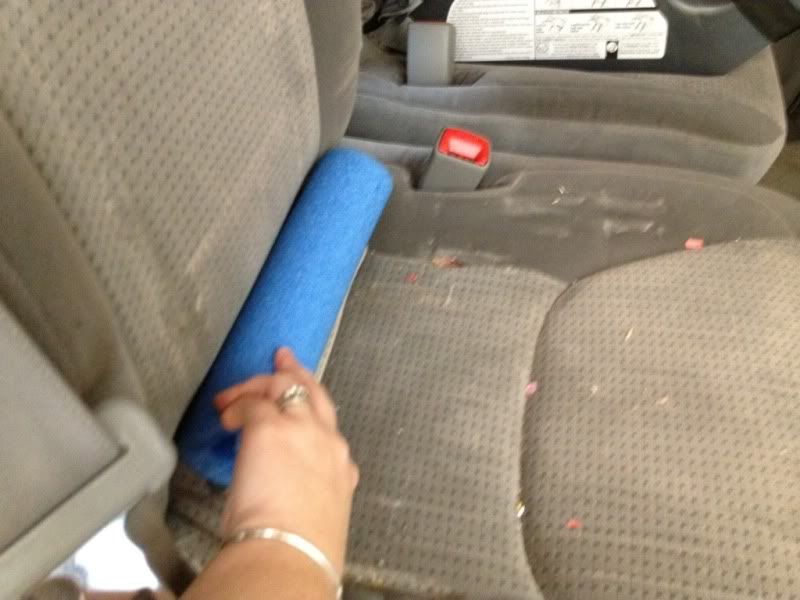
- Then place it at the bite of the vehicle seat. This is were the back portion and seat portion of the vehicle seat meets.
- Place your car seat on top of the pool noodle and install your child's car seat according to the car seat's manual.
If this is still not enough recline for your newborn you may use 3 cut pool noodles taped in a pyramid. Place the 3 noodle pyramid in the bite of the vehicle seat and install the car seat according to the car seat's manual .


You can see in these pictures the difference in recline.
- With the car seat's recline foot all the way in
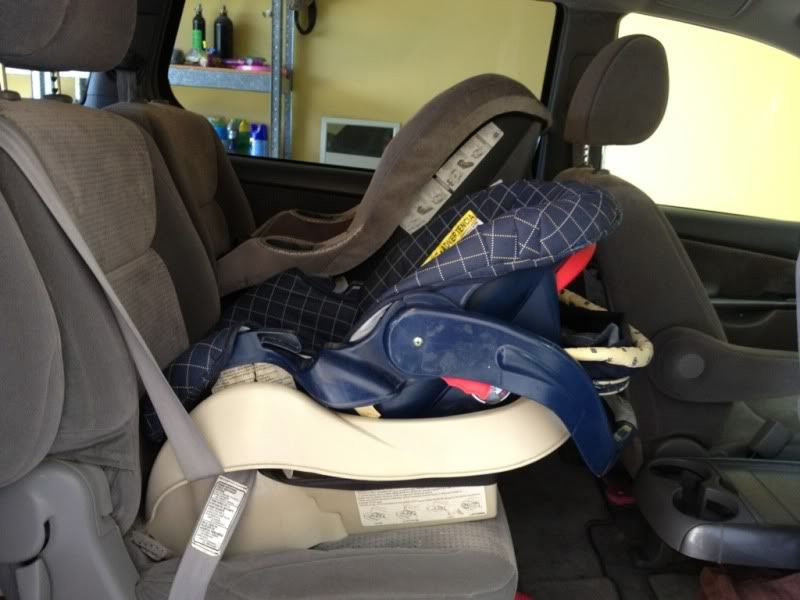
- With the car seat's recline foot all the way out
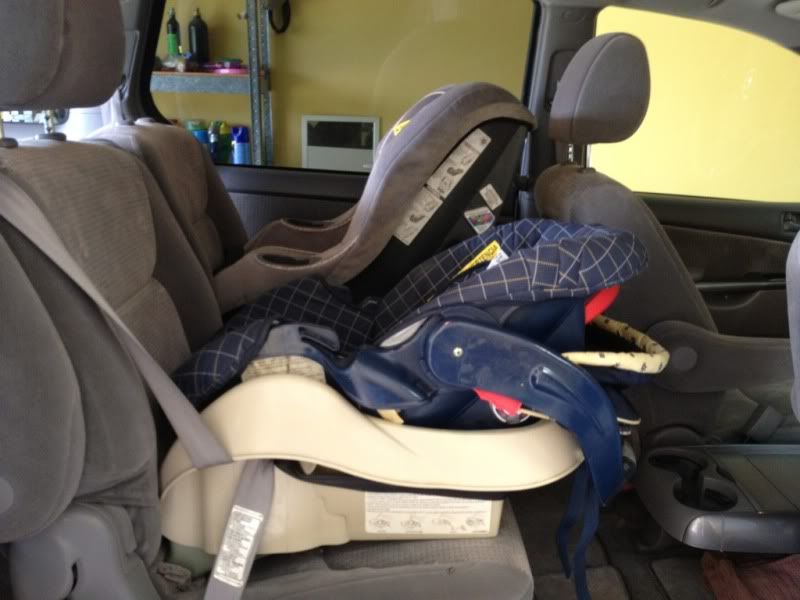
- With one noodle
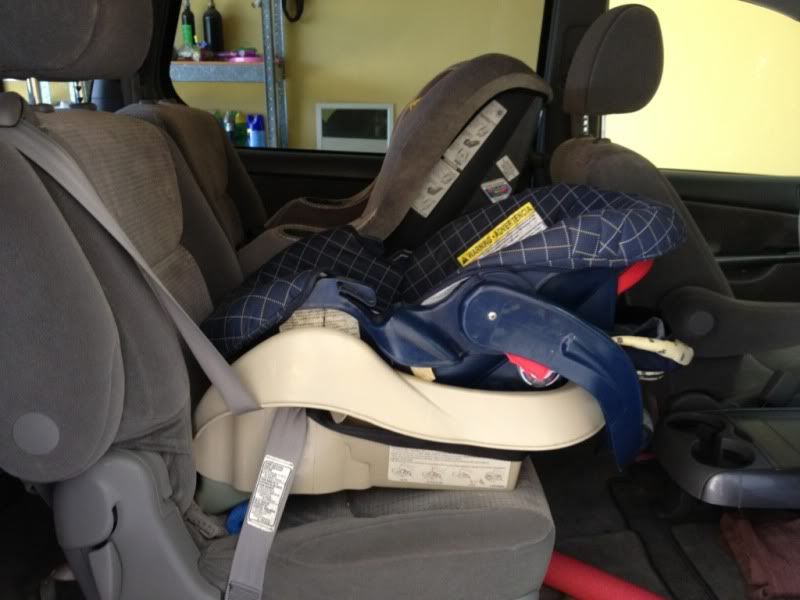
- With a 3 noodle pyramid

Once you have achieved the appropriate angle for your child's car seat you are now ready to place your child in the car seat. There's a few things you should be sure of when placing your baby in their car seat.
- The harness straps need to be at or below your baby's shoulders

- The chest clip needs to be even with their armpits.
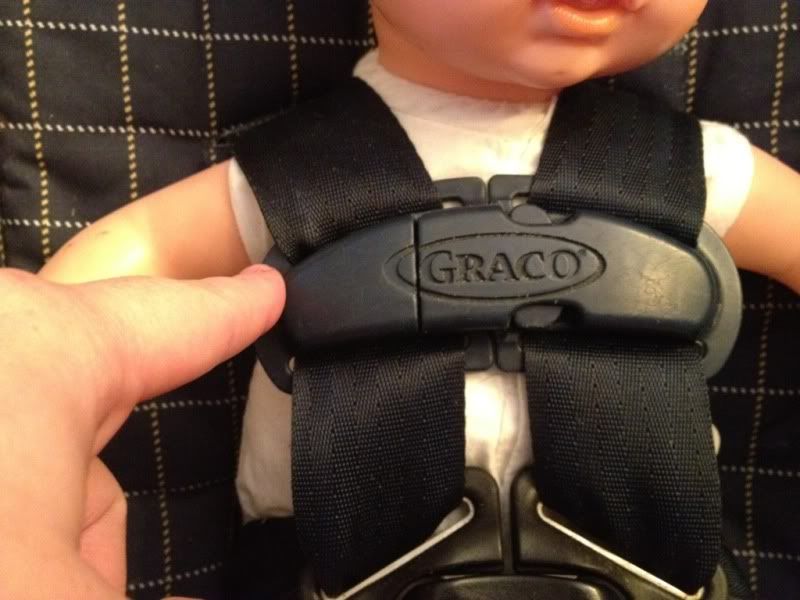
- The harness should be snug enough to pass the pinch test.You should not be able to pinch any extra harness webbing at the child's collar bone.
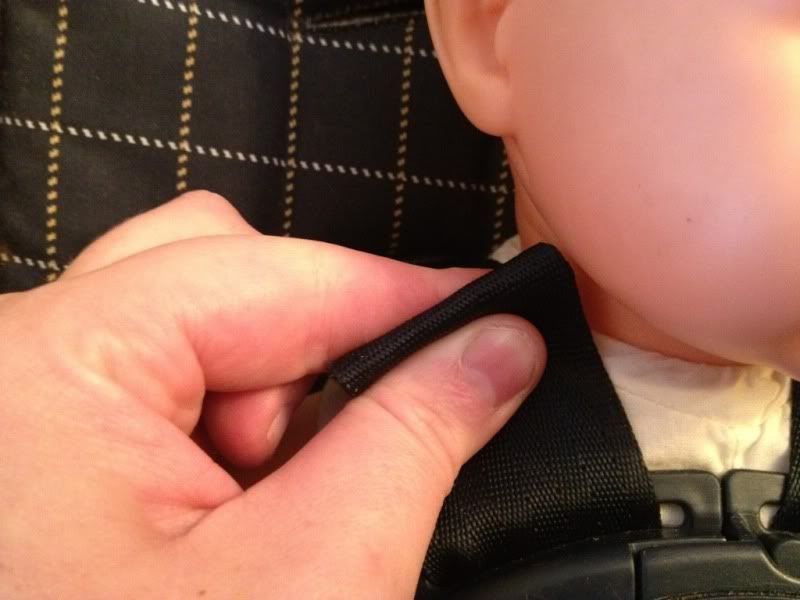 | |||
| Too loose! |
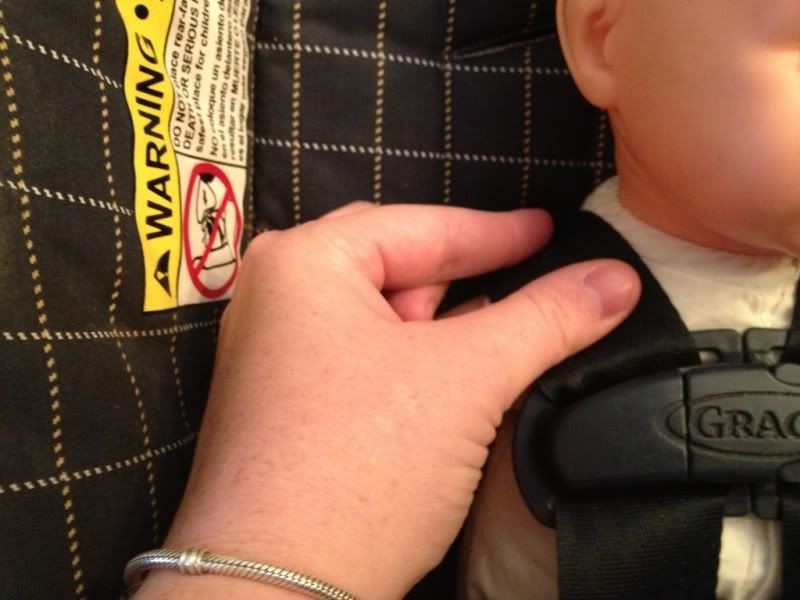 |
| Correct! |
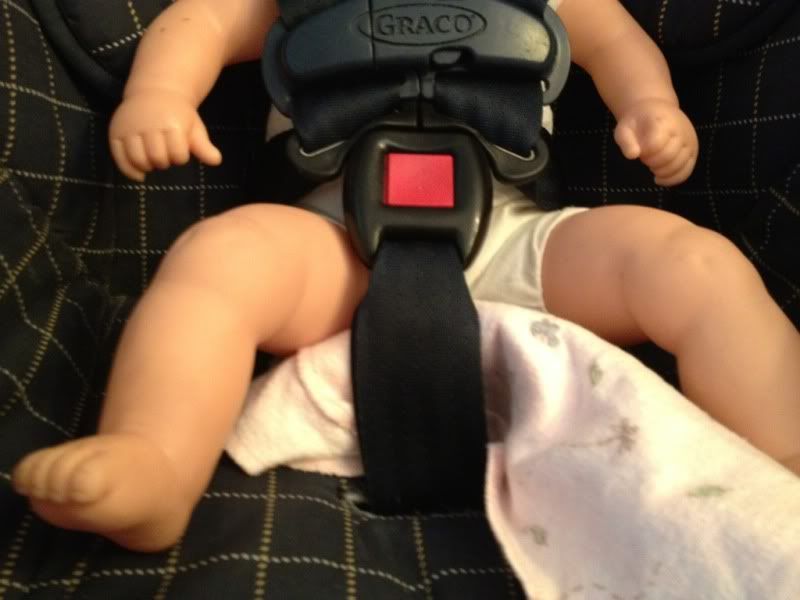
- An important thing to keep in mind is to make sure there isn't slack in the harness at the hips.
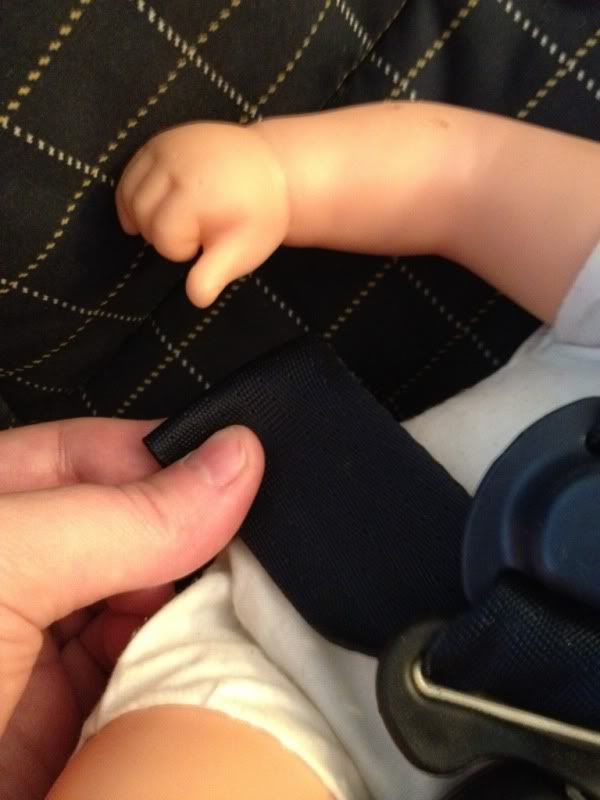
- Pull up on the harness at the shoulders to pull out all the slack in the hips. Then tighten the harness tight enough to pass the pinch test. This will allow you to get all the slack out of the car seat's harness.
Sometimes the baby still has some issues fitting into the car seat. Like slouching or tilting their head/body to the side. These are things that can easily be fixed without using an after market head support.
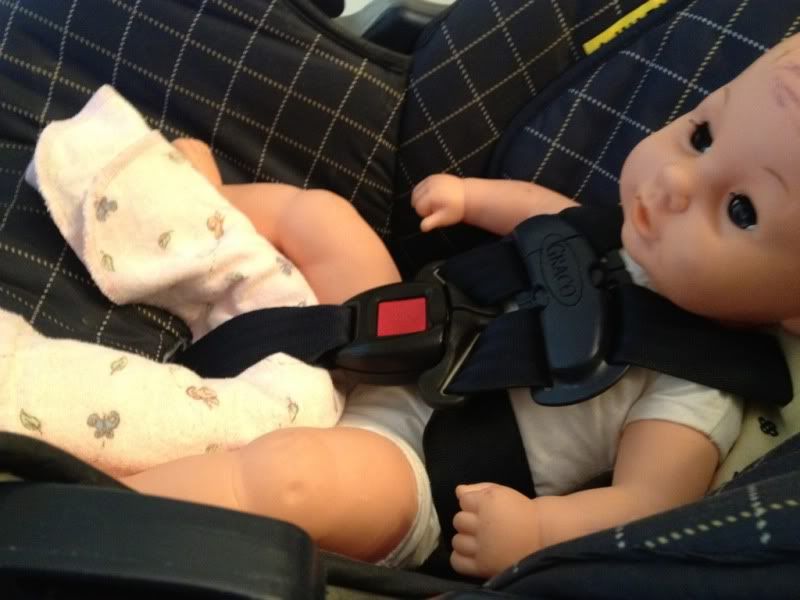
A lot of times little babies will slouch in their seat.
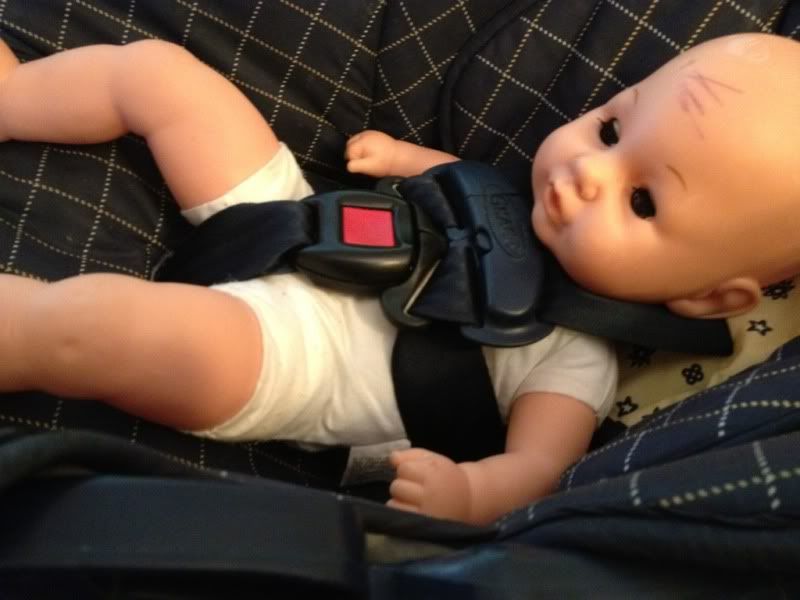
To prevent this make sure you are using the most inner buckle slot, check your car seats manual on how to adjust your buckle. If you are unable to adjust your baby's buckle slot or you have adjusted it to the inner slot and your baby is still slouching you can use a rolled up receiving blanket to help boost baby up. You want the baby's back to be flush against the back of the car seat.
- This kind of gaping between baby and the buckle strap can cause slouching.

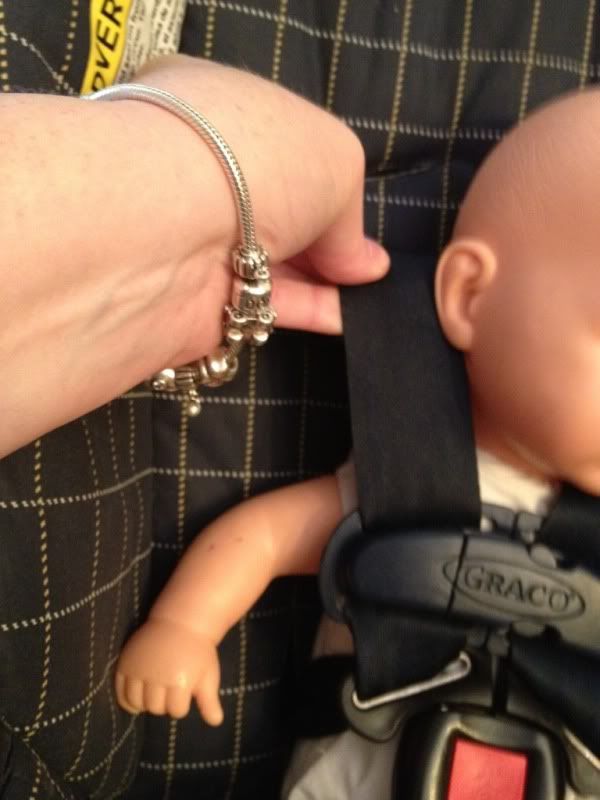
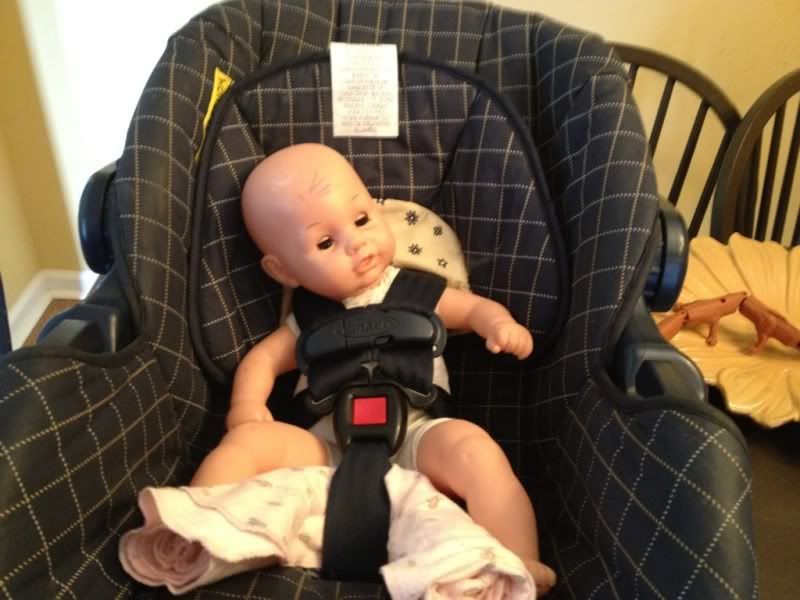
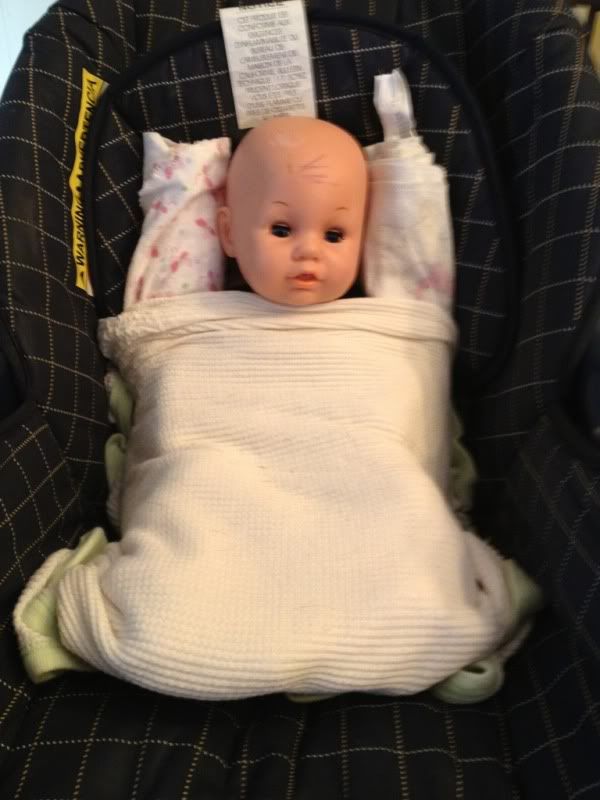
- Take a receiving blanket and roll it up tightly


- Slide the rolled receiving blanket between the baby and the buckle strap until it makes an upside down horse shoe.

You can see how much better the baby fits in the car seat compared to the before picture above.
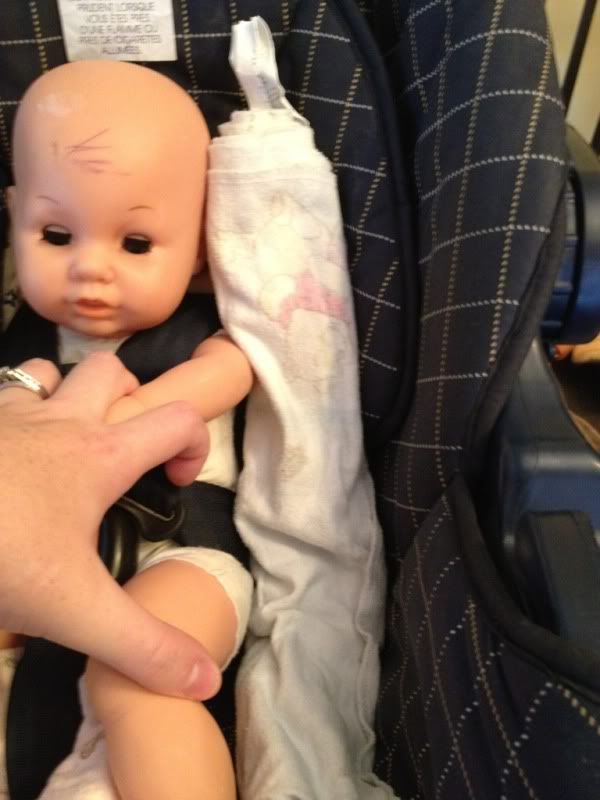
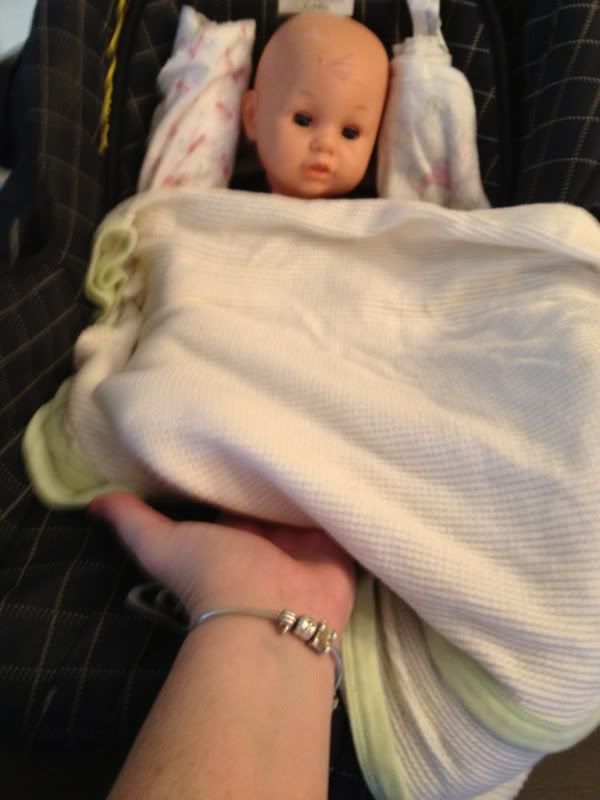
- Roll 2 receiving blanket just like before
- Tuck one rolled receiving blanket on each side of the baby. Make sure not to place anything behind the baby's back.
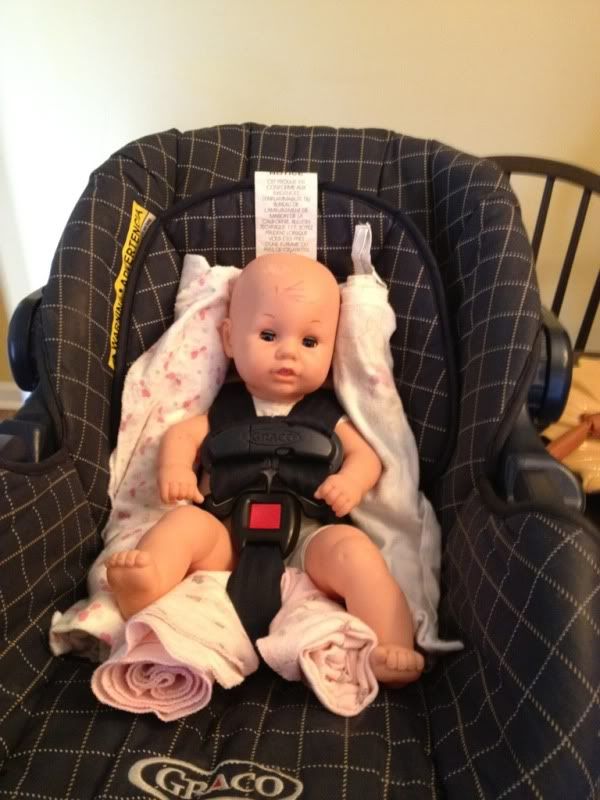
If your baby is crying and seems uncomfortable remember that newborns have just come from a world that was warm and tight. You can use a blanket tucked around the baby, but not behind baby's back, to make them feel more secure in their car seat.
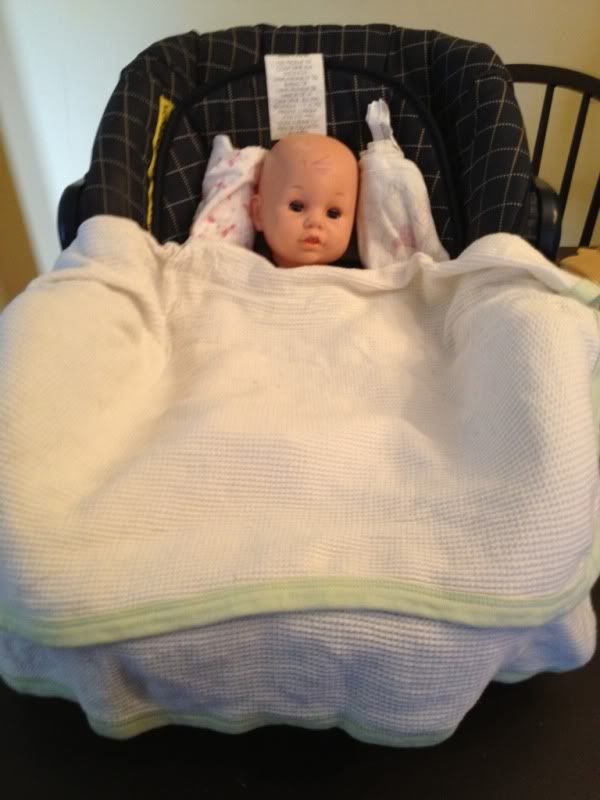


And your baby is ready for their first ride home!


